Introduction
When it comes to modern web automation and testing, Playwright has emerged as a powerful tool for developers and QA engineers alike. Among its many features, Playwright’s locator strategies stand out for their flexibility and precision. One such strategy, the "Get by Test ID" locator, is a reliable way to target elements on a webpage using custom test-specific attributes. However, a key consideration is that while effective, ID-based locating can result in brittle tests if IDs change or lack meaningful context. In contrast, semantics-based locators—such as those targeting an element’s role or visible text—offer a more flexible and resilient alternative.
In this detailed guide, we’ll explore what Playwright is, dive into the specifics of locators, and provide a comprehensive walkthrough on using the "Get by Test ID" locator effectively—complete with practical examples, troubleshooting tips, and best practices.
Whether you’re new to Playwright or looking to refine your automation skills, this post will equip you with everything you need to master this locator. Let’s get started!
Playwright is an open-source automation library developed by Microsoft, designed for end-to-end testing, web scraping, and browser automation.
What Is Playwright?
Playwright is an open-source automation library developed by Microsoft, designed for end-to-end testing, web scraping, and browser automation. It supports multiple browsers—including Chromium, Firefox, and WebKit—and allows developers to write tests in JavaScript, TypeScript, Python, Java, and C#. What sets Playwright apart from tools like Selenium is its ability to handle modern web complexities, such as single-page applications (SPAs), cross-browser testing, and auto-waiting for elements, all with a unified API.
Playwright’s versatility and robust feature set make it a go-to choice for testing dynamic, interactive web applications. But to leverage its full potential, you need to understand its locator strategies.
What Are Locators in Playwright?
In Playwright, locators are mechanisms used to identify and interact with elements on a webpage—like buttons, input fields, or links. In other words, a locator is like a pointer that helps your script find an element on a webpage. Think of locators as telling playwright: “Hey, go find the Submit button on the webpage and click it.”
Playwright offers several locator types, such as:
- CSS selectors (e.g., .button-class)
- XPath (e.g., //button[@type='submit'])
- Text-based locators (e.g., getByText('Submit'))
- Role-based locators (e.g., getByRole('button'))
- Test ID locators (e.g., getByTestId('submit-button'))
Each locator type has its strengths, but the getByTestId locator is particularly useful for testing because it relies on custom attributes specifically added for automation. Let’s explore this in more detail.
Playwright “Get by Test ID” Locator: What Is It?
The getByTestId locator is a Playwright method that targets elements based on a data-testid attribute (or a similar custom attribute) embedded in the HTML. Unlike CSS or XPath, which depend on structural or stylistic properties that might change, data-testid is a stable, test-specific identifier added by developers to make elements easily locatable.
For example, consider this HTML snippet:
<button data-testid="submit-button">Click Me</button>Using Playwright’s getByTestId method, you can directly target this button with:
await page.getByTestId('submit-button').click();This approach is especially useful in specific scenarios. For example, when the system under test (SUT) lacks accessibility features and the elements don't have meaningful semantics, when adding accessible attributes might interfere with screen readers, or when labels and attributes are subject to frequent changes (e.g., during A/B testing).
In dynamic applications where class names or IDs shift, `data-testid` offers a stable anchor, bridging development and testing for reliable automation. However, test IDs have limitations—if they're not consistently maintained or descriptively named, they can lead to brittle tests. For broader stability and alignment with user experience, semantics-based locators like roles or visible text are often preferred, as they adapt better to evolving applications.
How to Use the Playwright “Get by Test ID” Locator
Now that we understand what the "Get by Test ID" locator is, let’s walk through how to use it effectively. We’ll cover setup, practical examples, troubleshooting, and best practices to ensure you can implement it seamlessly.
Setup/Prerequisites for Using “Get by Test ID” Locator
Before you start, ensure you have the following setup in place:
1. Install Node.js
Playwright runs on Node.js, so go to nodejs.org to download and install it if you haven’t already.
Confirm the installation by opening a terminal (Command Prompt or Terminal) and run:
Node --versionOutput
2. Install Playwright
In a terminal, navigate to a desired project folder (e.g., cd Desktop) and execute :
mkdir playwright-test
cd playwright-test
npm init -y
npm install playwright
These commands create a new directory called playwright-test, navigate into it, initialize a Node.js project, and install Playwright as a dependency.
3. A Playwright Script
Create a file (e.g., test.js) to write your automation code.
With these prerequisites met, you’re ready to dive into practical examples.
Detailed, Practical Examples of Using “Get by Test ID” Locator
Let’s explore some real-world scenarios. We’ll assume you’re testing a simple login page with this HTML we will name index.html. This HTML code creates a simple login form with username and password input fields, a login button, and a user list displaying two users, all marked with `` data-testid attributes for test automation.
<!DOCTYPE html>
<html>
  <body>
    <input data-testid="username-field" type="text" placeholder="Username" />
    <input data-testid="password-field" type="password" placeholder="Password" />
    <button data-testid="login-button">Login</button>

    <!-- Initially hidden success message -->
    <div data-testid="success-message" style="display: none;">Login successful</div>

    <ul data-testid="user-list">
      <li data-testid="user-1">User 1</li>
      <li data-testid="user-2">User 2</li>
    </ul>

    <script>
      document.querySelector('[data-testid="login-button"]').addEventListener('click', () => {
        document.querySelector('[data-testid="success-message"]').style.display = 'block';
      });
    </script>
  </body>
</html>
Below is the result when you open the HTML:

Example 1: Filling Out a Form
Here’s how to use getByTestId to fill out and submit a login form on the webpage (in this case, the index.html file). We will name the script below test.spec.js.
const { test, expect } = require('@playwright/test');

test('Login Form Test', async ({ page }) => {
  // Navigate to the local HTML file
  await page.goto('file:///C:/Users/THEO/playwright-test/index.html');

  // Fill in username and password fields
  await page.getByTestId('username-field').fill('testuser');
  await page.getByTestId('password-field').fill('password123');

  // Click the login button
  await page.getByTestId('login-button').click();

  // Wait for the success message to exist before checking visibility
  await page.waitForSelector('[data-testid="success-message"]', { state: 'attached', timeout: 10000 });

  // Assert that the success message is visible
  await expect(page.getByTestId('success-message')).toBeVisible();
});
In this script, Playwright locates each element by its data-testid and performs actions like filling in text or clicking.
Now run the command "npx playwright test" on your terminal window to run the test.js script.
NB: The command prompt path, "C:\Users\THEO\playwright-test", is from my personal terminal. Yours should be different but will have the same directory, "playwright-test", that we already created.
This is shown below.
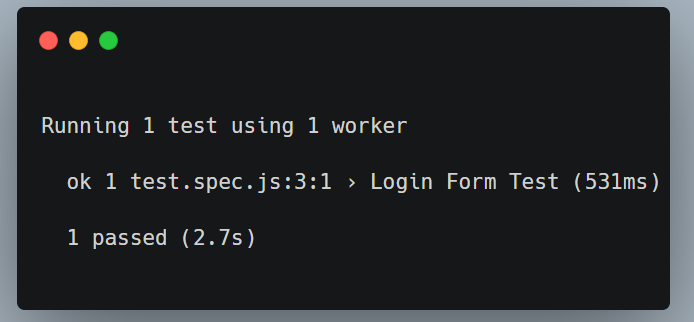
C:\Users\THEO\playwright-test>npx playwright testOutput
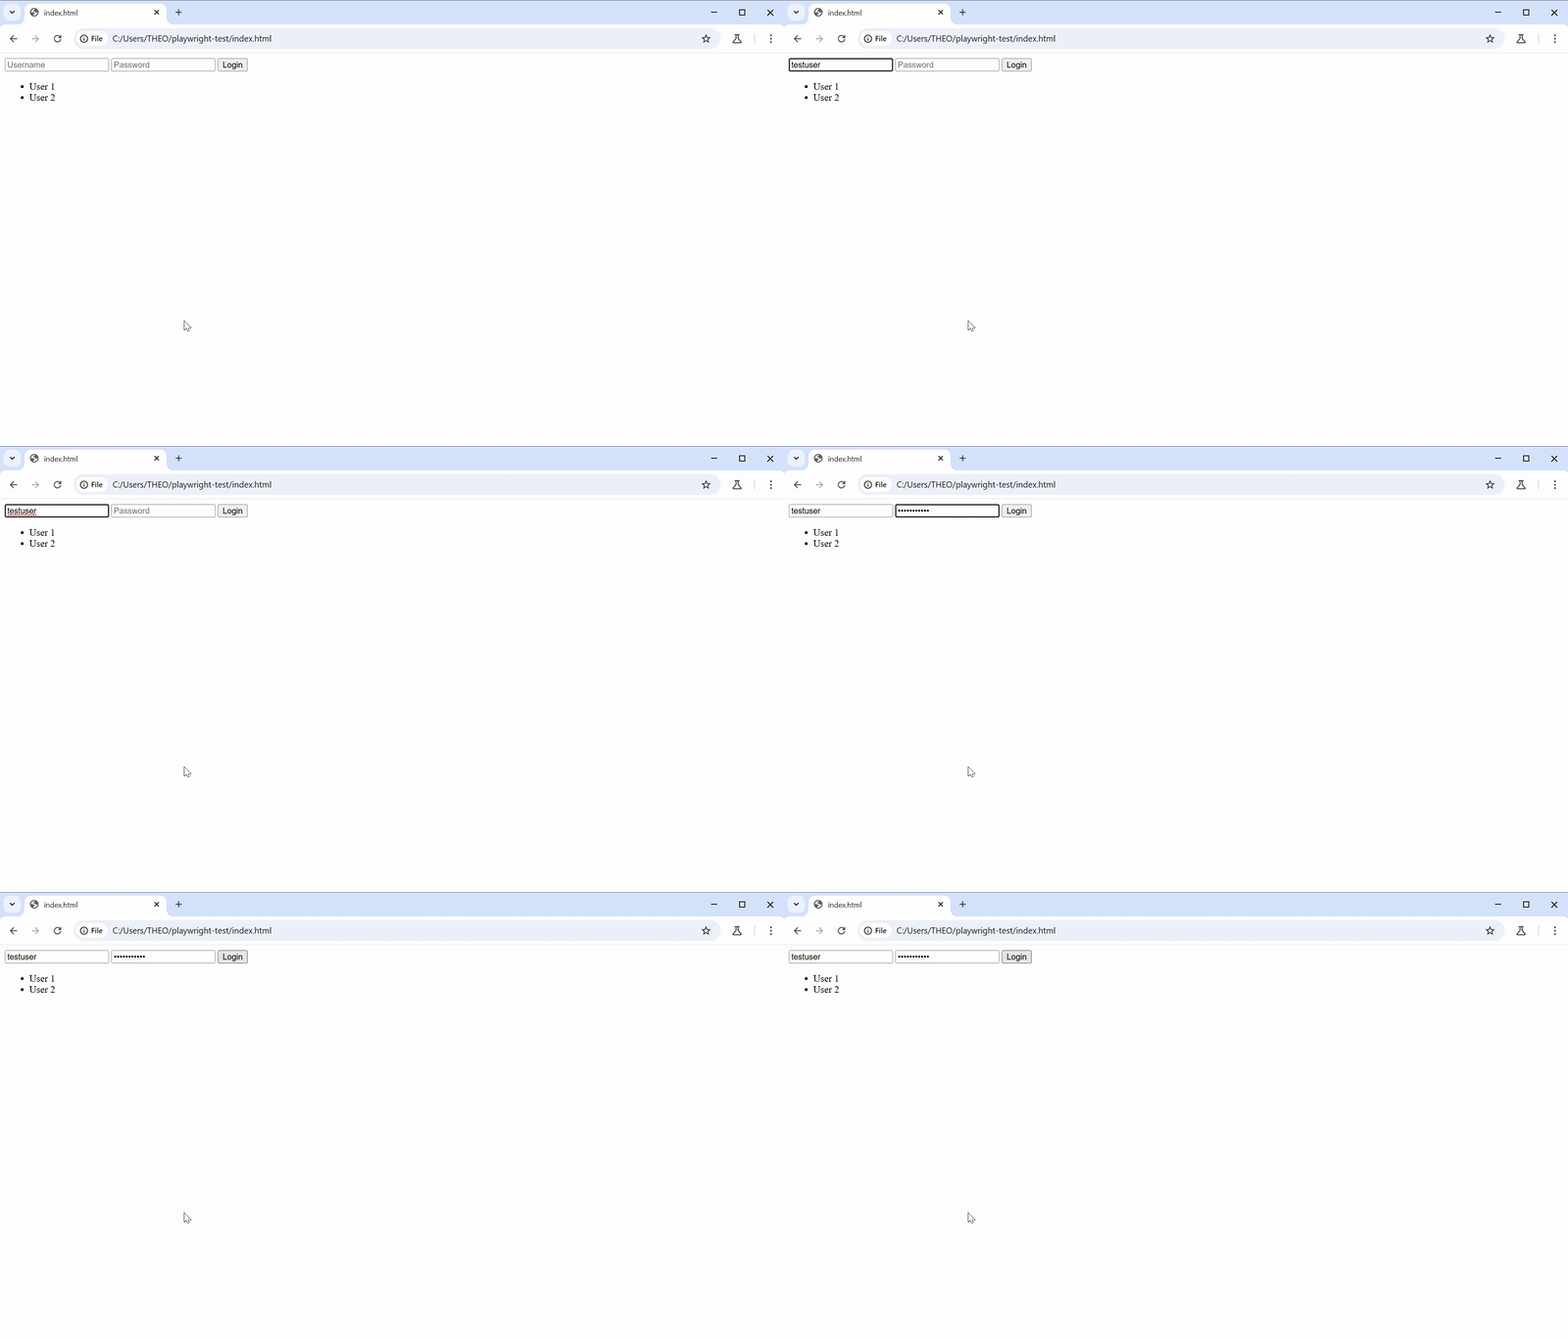
This output shows that the script automates a login process by launching a Chromium browser, opening the index.html, filling in the username and password fields, clicking the login button, and then closing the browser, using the getByTestId method to locate elements.
Example 2: Finding a List of Elements
To locate multiple elements (e.g., a list of users), use getByTestId with all() to retrieve an array. To demonstrate this, we will create an automation script and we will name it element-list.spec.js.
const { test, expect } = require('@playwright/test');

test('Find a list of elements', async ({ page }) => {
  // Navigate to the local HTML file
  await page.goto('file:///C:/Users/THEO/playwright-test/index.html');

  // Locate all list items inside the unordered list with test ID 'user-list'
  const users = await page.getByTestId('user-list').locator('li').all();

  // Ensure at least one user exists in the list
  expect(await users).toHaveLength(2); // Expecting two users

  // Iterate through each user list item and log its text content
  for (const user of await users) {
    const text = await user.textContent();
    console.log(`Found user: ${text}`);
  }
});
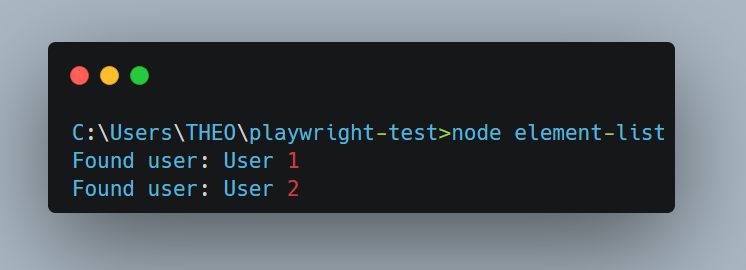
This script opens a Chromium browser with a 3-second delay per action, navigates to the local HTML file (the index.html file we created), retrieves all list items (<li>) inside the user list, logs each user's text to the console, and then closes the browser.
Now run the command:
npx playwright test element-list.spec.js
Then we get the output below:
Output
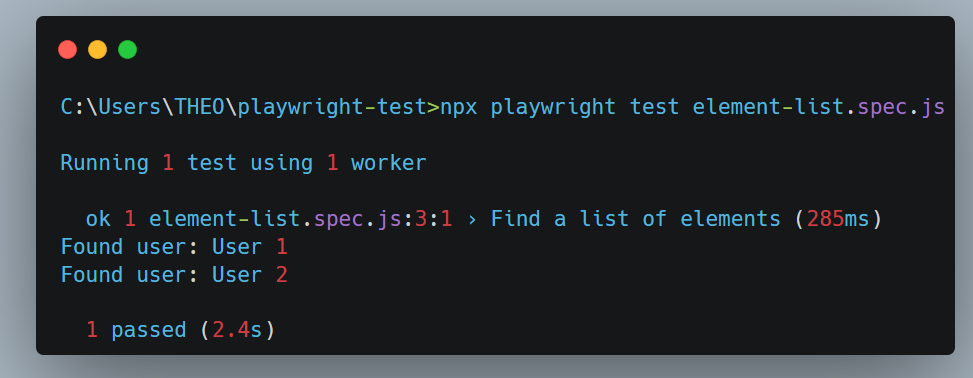
From this output, we can see that the getByTestId was able to locate the two users (elements) from the webpage.
Example 3: Verifying Element Presence
To check if an element exists, first let's write a script for this and name it element-presence.spec.js.
const { test, expect } = require('@playwright/test');

test('Verify element presence', async ({ page }) => {
  // Navigate to the local HTML file
  await page.goto('file:///C:/Users/THEO/playwright-test/index.html');

  // Check if the login button is visible
  const loginButton = page.getByTestId('login-button');
  await expect(loginButton).toBeVisible();

  // Log the result to the console
  console.log('Login button is present and visible.');
});
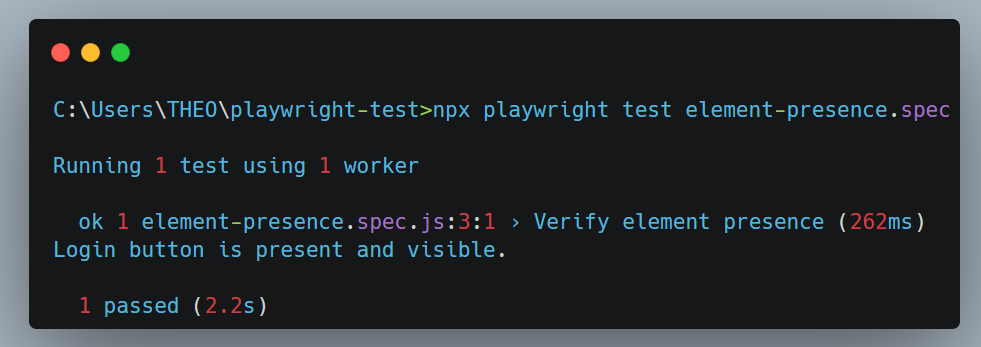
The script checks if the login button (identified bydata-testid="login-button") is visible on the page and logs the result (true if visible, false if not).
Now let's run the element-presence.js script by executing the command:
npx playwright test element-presence.spec"
The output is shown below:
Output
Troubleshooting/Resolving Issues When Using “Get by Test ID” Locator
Even with a straightforward tool like getByTestId, issues can arise. Here’s how to handle common problems:
Element Not Found
The cause of this is that the data-testid might be missing or misspelled in the HTML. To fix this, double-check the HTML and ensure the test ID matches your locator. Use page.locator('[data-testid]') to inspect all test IDs on the page:
const { test } = require('@playwright/test');

test('Debug missing data-testid attributes', async ({ page }) => {
  // Navigate to the local HTML file
  await page.goto('file:///C:/Users/THEO/playwright-test/index.html');

  // Locate all elements that have a "data-testid" attribute
  const testIds = await page.locator('[data-testid]').all();

  // Extract and log all test IDs found on the page
  const testIdValues = await Promise.all(
    testIds.map(async (el) => await el.getAttribute('data-testid'))
  );

  console.log('Found data-testid attributes:', testIdValues);
});
This script uses the page.locator('[data-testid]') method to find all elements with a data-testid attribute, extracts their values, logs them to the console, and then closes the browser. This helps troubleshoot "Element Not Found" issues by listing all available data-testid attributes on the page, ensuring the correct test ID is used in the locator.
Dynamic Test IDs
Some frameworks generate dynamic test IDs that change, making it difficult to locate elements using exact matches (e.g., data-testid="button-123"). To handle this, you can use partial matching with locator('[data-testid^="button"]'), which selects elements whose data-testid starts with "button", ensuring stability in your tests. This is illustrated below:
// Locate an element whose `data-testid` starts with "button" and click it
await page.locator('[data-testid^="button"]').click();
This will help find and click an element whose data-testid attribute starts with "button", making it useful for handling dynamically generated test IDs.
Ensure data-testid attributes are added consistently across the application
Best Practices for Using the "Get by Test ID" Locator
To maximize the effectiveness of getByTestId, follow these tips:
- Collaborate with Developers: Ensure data-testid attributes are added consistently across the application.
- Keep Test IDs Unique: Avoid duplicates to prevent ambiguity (e.g., don’t use data-testid="button" for multiple buttons).
- Use Descriptive Names: Look for meaningful test IDs like data-testid="submit-form-button" rather than vague ones like data-testid="btn1".
- Combine with Other Locators: If test IDs are not available or unreliable, use getByTestId with other locators (such as locator(), getByRole(), or getByText()) for more precise element selection.
- Prefer Semantics Where Possible: While getByTestId is a useful tool, consider using semantics-based locators like getByRole or getByText whenever possible. For example, await page.getByRole('button', { name: 'Login' }) selects a button based on its accessible name, making tests more aligned with the app’s external behavior rather than relying on internal IDs. This approach not only improves test readability but also makes your automation more resilient to UI changes.
Best practices for element locating in E2E Testing? Check here.
Conclusion
The Playwright "Get by Test ID" locator enables precise and reliable element targeting in web applications using the data-testid attribute, ensuring robust automation scripts that adapt to UI changes. This guide has explored Playwright’s fundamentals, detailed the getByTestId method with practical examples, and offered troubleshooting and best practices to enhance implementation, empowering users to confidently automate and test their projects.
.svg)


