It comes almost as a natural instinct; if we are going to delegate to machines and digital platforms –which are subject to fairly frequent changes– the important, critical and data-sensible tasks of our sales business, like payments, we want to make sure those processes work smoothly and exactly. No lost data in the way, no added or missing taxes or shipping rates in the sum total, no surprises. The way to do this is by sort of rehearsing a sales and payment process, before it takes place in real life.
Shopify Payment Test Mode
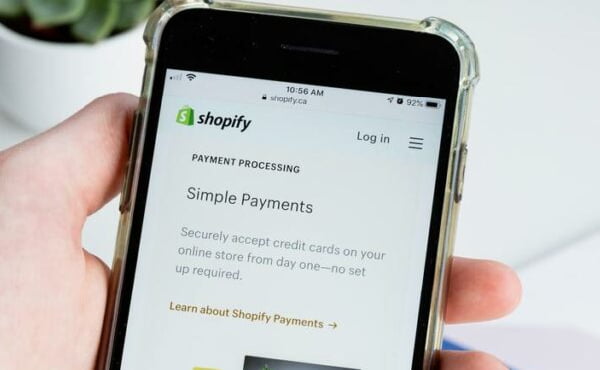
To the benefit of Ecommerce business owners who decide to use Shopify, the platform comes packaged with its own testing feature –the Test mode, precisely aimed at checking the correct functioning of such processes as, in this case, payments.
The payment test mode is considered one the most popular of Shopify’s features. It isn’t a new feature actually. It essentially helps owners to assure that customers’ payments are processed properly every time they make a purchase.
But, as is probably known, testing of payments on Shopify can sometimes be a confusing job for business owners who happen to be beginners on this platform. And, as is surely known, situations like when a customer can’t make a payment are a quite big thumbs-down for business.
How does it work
The first thing we need to do is to set up Shopify Payments. This will enable customers to make payments using their credit cards, and, to do that, we should start by checking if Shopify Payments are directly available in our country.
Next, to activate Shopify Payments, we will follow these simple 4 steps:
- Select Payment providers: from the admin page, go to Settings > Payment Providers.
- Add a provider: from the Accept credit cards, select Add a provider (if a credit card provider has already been enabled, select Change provider to select another one).
- Continue setting: now Shopify Payment is by default selected and we can click Continue to complete the account setup.
- Complete account setup: Once we set up Shopify Payments, we must enter the following data:
- Employer Identification Number (EIN).
- Banking information.
- The average price of your orders.
- The average shipping time of your orders.
Payments set up on Android:
- From the Shopify app, log into Shopify account, then go to the Store, select Settings with the cogwheel symbol.
- Tap Payments from the list of settings.
- Tap Add a provider in the Accept credit cards section.
Note: If there’s a previously enabled credit card provider, select Change provider instead. - Select the first option, Shopify Payments, and tap Continue.
- User is then required to enter your store and banking information. After finished, tap Complete account setup and Shopify Payments is now ready for customers’ online purchases.
Payments set up on iPhone:
- Log into Shopify account from, then go to the Store symbol in the bottom right corner and select Settings.
- Next, in the Store settings section, a list of settings will be shown. Tap Payments.
- Under the Accept credit cards section, scroll down a bit and select Add a provider.
- If a credit card provider has already been enabled, select Change provider to select another one.
- Complete the process by entering required store and banking information. Tap Complete account setup and you are done setting up Shopify Payment.
Then we can go on and enable the payment test mode:
- From the Shopify admin page, go to Settings > Payments.
- In the Shopify Payments section, click Manage.
- In the Test mode section, select Enable test mode.
- Click Save.
Now we can proceed to simulate a successful transaction, by entering the following data:
- Name on card: enter at least two words.
- Expiry date: enter any date in the future.
- Security code: enter any three digits.
- Card number: use any of the following numbers:
| Card type | Test credit number |
| Visa | 4242424242424242 |
| Mastercard | 5555555555554444 |
| American Express | 378282246310005 |
| Discover | 6011111111111117 |
| Diners Club | 30569309025904 |
| JCB | 3530111333300000 |
Conversely, we can also simulate unsuccessful transactions to check the display of error messages. In this case we will use invalid credit card data:
- Use credit card number 4000000000000002 to generate a card declined message.
- Use credit card number 4242424242424241 to generate an incorrect number message.
- Use credit card number 4000000000000259 to simulate a disputed transaction.
- Use an invalid expiry month, for example 13, to generate an invalid expiry month message.
- Use an expiry year in the past to generate an invalid expiry year message.
- Use a two-digit security code number to generate an invalid security code message.
Conclusion
We’ve learned about Shopify’s special payment test mode feature, and how to set up payments on different OS platforms. Simulating both successful and unsuccessful payments is absolutely useful when it comes to checking the correct payment flow for our customers. It will save us valuable time and ensure a good user experience.